Monday, February 28, 2011

Bliss Stamp Set Wedding Card

Well, I don't know about you, but I am still anxiously awaiting my invitation to the Royal Wedding.....SO, I decided to go ahead and make my Wedding Card for William and Kate.....My question to everyone is.... What should I give as a gift, or is my presence enough of a present!!!!????

Here is the card..  Made with the FREE stamp set, BLISS from the Sale a bration Mini catalog...


The card was made from Concord Crush and stamped with Versamark ink and embossed with white embossing powder.   The "Happy Wedding Day" is from a retired set, All Year Cheer III. 

ENJOY!!!

Friday, February 25, 2011

Sweet Summer...COME ON!!!

Is everyone tired of the cold, snow, ice....????....

Well, hopefully this card will cheer you up?

Don't ask me why the picture is small, I can't figure it out.....But this is another card made with Sweet Summer.   The card base is Daffodil delight and I stamped the various flowers in black staz-on on whisper white cardstock and colored the images with so saffron, baja breeze and certainly celery markers.  I used Baja breeze seam binding and daffodil delight 1/8" taffeta ribbons.   The sentiment is from Teeny tiny wishes and I added some small pearls too.   I used the XL scallop oval and XL oval punches.

ENJOY!

Thursday, February 24, 2011

Sweet Summer Card in Concord Crush

OK, here is another card and this time I used concord crush.   I was searching on line for some inspiration using this set and saw several cards all using flowers like these, 3 in a row.    I just started grabbing items.   Crumb cake as the card base and then I picked up the Pinking hearts border punch that I haven't hardly used since getting it...I used the concord crush DSP from the In Color DSP paper stacks and another In Color, Pear Pizzazz with the heart border punch.   I stamped the flower image in concord crush and pear pizzaz inks and colored them in with the same color markers, plus poppy parade for the berries on the flowers.   I punched the greeting using the word window punch for the greeting and the layer behind it and just offset it and put a pearl bling on it.

ENJOY!

Wednesday, February 23, 2011

Sweet Summer.....I sure wish it was outside!!!

As promised, here is another card made using Sweet Summer from the Sale a Bration catalog.   I just love this set, can you tell???  First, this is a picture of the stamp set.   My favorite from this set, is the branch on the bottom right.  The card from yesterday and today use that stamp.

 I used Soft Suede as the card base.   The Poppy Parade panel is embossed using the Finial Press embossing folder.   I have some extra Victoria crochet ribbon and decided to use it on this card.   I used my color coach to decide what color to put with Poppy parade...I used Baja Breeze (another favorite of mine).   I colored in the branch with markers and colored the butterfly and cut it out, using dimensionals to pop it up on the card.   The "friend" greeting is from a long retired set, Noteworthy.   I went through a bunch of stamp sets that I have been saving...and pulled about 30 or so off the shelf.   Check back next week for a listing of those sets for sale.

Tuesday, February 22, 2011

Sweet Summer Card....All week.....

This week I am going to focus on the Sale a Bration stamp set, Sweet Summer... AND Summer it's NOT.  It is 1115pm and I just went outside with my yardstick and we have 3 1/2" of SNOW so far....  YIKES!!! I was hoping we were done with it...BUT I guess not. 

Tomorrow, I will be stamping, that is for sure, some more samples using Sweet Summer.   This set is one of the Sale a Bration items you can receive for FREE when you purchase $50.


Here is the first card this week using Sweet Summer.   This card was inspired by a card my friend Frances Wagner had on her blog.   I met Frances during Leadership in Nashville last month, that is one of the perks of being a Stampin' Up! demonstrator.   I have met so many, all over the US that become friends forever.    The card is a whisper white card base, the Pretty in Pink layer was put thru the Big Shot using the Elegant Lines Embossing Folder.  The Bashful Blue DSP is from the Subtles paper stack, these come in all color collections, including In Colors.  I used the 2 3/8" scalloped circle punch (just reconfigured punch that can now be ordered), I punched out certainly celery, then I cut 2" circles from an old circle cutting system since there is no 2" circle punch....in whisper white and stamped the flower image and bird on the white circle.   I used Pretty in Pink, Certainly Celery and Bashful blue markers to color in the image.   I punched celery and white cardstock for the greeting (from Teeny Tiny Wishes) and added a little bling, a small pearl rhinestone.

This next picture is from Stamp Club, Sunday, 3 of the ladies from the club each made the same card.   See the differences????

 There is some more added bling on some of the cards and one gal even turned the DSP to the other side.   I love when they use their creativity.

Stay tuned tomorrow for more snow updates and more cards using Sweet Summer.

Monday, February 21, 2011

Sympathy Card

OK, here's another set I don't own, but now want to get.   This card was inspired by Jill on Splitcoast stampers..

This card uses 2 stamp sets I don't own!!!  The medallion stamp - again, borrowed from my Mom.   I stamped it as a background  on elegant eggplant cardstock using the same color ink.  Wrapping some old olive ribbon around this layer and then tying a knot on the front, then adhering it to a whisper white folded card (4 1/4 x 11, folded in half and the opening on the right).   The main image was stamped with the same ink on whisper white cardstock, then on some scrap whisper white cardstock, the flower and butterfly were both put on one block, like this....


Then stamped in elegant eggplant ink and cut out.   We colored those images using the aqua painter and the top of the ink pad, since that was sitting open...  Then if you look really close you might see some shimmer paint (champagne mist) on the butterfly and flower, very lightly painted on with a paint brush, the color is transparent so it just adds a shimmer to the color.  We put these images at opposite corners.  Adhered the stamped panel to a layer of riding hood red cardstock, then added it to the card.

ENJOY!


Bible verse of the Day:

Give thanks to the LORD, for he is good; his love endures forever.  -- Psalm 107:1

Saturday, February 19, 2011

Sale a Bration - Sweet Summer

WOW, the wind is whipping around the house, windchimes are chiming, but so far now houses flying in the sky....SO HOLD ON ....

I have been doing a great deal of stamping the last couple of days, between stamping with my Mom in Florida, to getting the cards ready for stamp club.   Those I will show you next week after the club meets.

This stamp set is in the Sale a Bration mini catalog and you can choose this set, FREE with a $50 purchase.   Sweet Summer.  


Here is one card I made with this set.....I love coloring in the leaves and the little berries onit.

 Same card, different colors of cardstock.....


and next week I will post some cards using this stamp set.

Friday, February 18, 2011

Stamping cards with Mom

While in Florida, we finally got some stamping time in....My last day here.    We made several cards using sets that haven't seen ink as well as used some sets that I don't have...Hey, how'd that happen!!!   I'm amazed at the sets I don't own, but want to own.....

This first one I copied, not sure where?  but the her name is Heather Klump.
The stamp set is Sew Sweet from the Occasions mini catalog and one that I DO NOT OWN!!!!  But want to own...  The card is certainly celery, and the front is whisper white, stamped with early espresso ink for the spools of thread and the body form stand.   We colored the spools of thread with colored pencils.   Next we stamped the body form on some DSP (Greenhouse Gala) any DSP will work and cut out just the body form and adhered to stand with dimensionals.  We picked out a button (probably from a shirt falling off long ago), using a mini glue dot.  Next stamped the greeting from L1 Hostess set, silhouette sentiments and punched out using the modern label punch, then trimmed off on the one side with scissors and adhered using a dimensional.  The ruler was stamped on regal rose cardstock with regal rose ink and trimmed.  The stamped image panel was pierced all around using the mat pack and a paper piercer.   This card took a little time to make because of the coloring and the piercing.   It could be made quicker using a sewing machine and no thread, but remember to use a different needle when sewing thru cardstock, it makes the needle dull and you don't want to sit down to sew material and make a mess of it because the needle is dull.   I have a separate needle and keep it in a tictac box, marked..paper needle and just shake it out when I want to use it.   I also put a spot of sharpie marker at the top too.

ENJOY!!!


Bible verse of the Day:  Humble yourselves, therefore, under God's mighty hand, that he may lift you up in due time. Cast all your anxiety on him because he cares for you.  -- 1 Peter 5:6-7

Thursday, February 17, 2011

Mediallion Birthday Card

Yesterday I was going to post this card and when I started out explaining that I didn't even use one of the 20 stamp sets that I brought with me to Florida!!!!   I kinda got off track and instead showed you what Stampin' Up!'s new clear mount stamps look like.  

Here is a card I made using the Medallion background stamp.   Now, I don't own this one, but have borrowed it from 3 of my friends/family and made cards using it.   I think it is time for me to buy it.  

Actually, I made 2 cards.  I used the same cardstocks, perfect plum and whisper white.   I used blushing bride and perfect plum inks.   I inked up the stamp using blushing bride first, then tapped my perfect plum randomly over it. and then just stamped.   It was so easy.   I think next time, I will use a sponge to put the ink on the stamp so that it doesn't show streak marks from swiping the ink pad on the stamp.  I put some bling in the center.  and since the bling is so thick, I won't be mailing either of these cards.   I will use these cards to hand to someone.

These were super simple cards and took less than 5 minutes to make both of them from start to finish.

ENJOY!

Wednesday, February 16, 2011

Stamp Sets, Clear Mount

I am visiting family in Florida and brought along about 20 stamp sets....OH MY, the beauty of clear mount stamps.   NOW, for years I have not been a fan, my stamping friends can all attest to that.   I didn't (and still don't) like having to mount the stamp each time I want to use it.  The ease of locating wood mount stamps, you can just look at them and see the images...and Stampin' Up!'s quality rubber stamps.   I just used a clear stamp that I have had for a few years (not SU) and when I lifted it off the block, part of it stayed and part of it pulled off, now I have to just trash the stamp, because I don't want to have to try and line that up each time I use it!!!   Well, Stampin' Up! came out with their fantastic Clear Mount stamps.   They are the same quality red rubber stamps, but now, unmounted and you use them with a clear acrylic block....any block will do, but Stampin' Up! also came out with some super acrylic blocks, that have grooves all around the edges for ease in picking up.  Their storage system is great, the best ever, each stamp set comes in a DVD clear case and on the front is a picture of the stamp set, on the spine is each image that is in the set and you can see thru the back of the case, the actual stamps.  and those 20 sets, fit nicely in a tote bag and weighed almost nothing!

Here is a picture of one set, Sew Suite from the occasions mini catalog.   This is what the front of the case looks like...and these images are the actual size of the stamps.
 This picture is the spine of the case, showing each image that is in the case, and the name of the set .
 Here is the inside of the case, each stamp precut and in a large red rubber square.   When you receive the set, you need to put the label of each stamp on the back of the stamp.  EASY and when you have them all done, pull the white paper off the large rubber square, put this back in the box and all the stamps in their place.   This prevents loosing little stamps when opening the case.  My first 5 or so stamp sets that I purchased that were clear mount sets, I did not save the large rubber square, so I have to take extra care when opening the cases so that the smaller stamps don't fall out.
 Here is the back of the stamp case.  This is my Mom's set, and she has not removed the paper off the rubber square yet.   Now, I don't own this set, but now that I have put my hands on it, I gotta have it!
Send someone some Love, make them a card and send it!

ENJOY!

No More Snow....Please

We are enjoying the Florida weather right now but will be heading back soon to Maryland and we really don't want any more snow....   Just before we left for Florida, these pictures were looking out our windows!!  YIKES.  This first picture is looking out from my front door.   Beautiful isn't it?   Yes, but I don't like the reality of it.   COLD, SHOVELLING, SLIP SLIDING.....

 Here's the sun coming up looking out my back door onto the deck. 
 Here is what I came down to.....Melbourne Beach...the water is cold, but hey, it's February and I am walking on the beach in sandals and the sun is shining.
 Here is another view, with my back to the water.

This is my favorite thing to do while in Florida...Sitting on the beach, feeling the warmth of the sun, the sand between my toes and hearing the waves crashing on the beach.   I JUST LOVE IT!!!


Tuesday, February 15, 2011

Valentines, Valentines and More Valentines

This week I crancked out some Valentine's cards.   I was staying in Deland, Florida...by day, we visited some flea markets, by night we watched sprint car racing at Volusia Speedway.  I only took a few stamp sets with me and some card making supplies with me.  and Only one stamp set and one ink and a few markers....WHAT WAS I THINKING!!!????

I didn't take any punches, no envelopes....What did I think I was going to mail them in???   

ANYWAYS,  here is what I came up with:  I used the Love you Much stamp set, pg 47 in the catalog,  and used the Love Impressions DSP from the Occasions mini catalog and I had some cardstock colors, pretty in pink, real red and perfect plum.  I only had chocolate chip ink spot and a few markers.   The hearts were cut out of the red glimmer paper from the Occasions mini cataog, and I had some pink and white taffeta ribbon.  I did not bring any punches, therefore to get the heart to kinda look like a heart, I stamped the heart from the Love you Much stamp set on the back of the glimmer paper and cut them out!!!  YEP cut them by hand.   I made and mail about 25 of these cards.   If you didn't receive one...I'm sorry, SorryMaybe I didn't have your address with me.   I sure hope your Valentine's day was filled with Love.


ENJOY!

Bible Verse of the Day: 

Obey your leaders and submit to their authority. They keep watch over you as men who must give an account. Obey them so that their work will be a joy, not a burden, for that would be of no advantage
to you.   -- Hebrews 13:17

Monday, February 14, 2011

Happy Valentine's Day

I hope everyone had a Lovely Valentine's Day....a day filled with Love.  That is what I wished for everyone this day. 

I have to apologize for not posting any sooner.   No excuses, just haven't done it and I am sorry. 

I will just have to do better....starting today.   I am visiting family in Florida and enjoying the warm weather and NO SNOW!!!  My husband and I (Anniversary today, 18 years!!!) well, we were married here in Florida on the beach at Lori Wilson Park on Cocoa Beach, Florida.    Every year we come to Florida in February for our Anniversary.   I usually have a stamp class, or stamp a stack while I am here and I had some fun projects planned for this visit.   BUT, plans changed and it just didn't work out.  Below are the items we were going to make at my Valentine's Class (that never was)...  

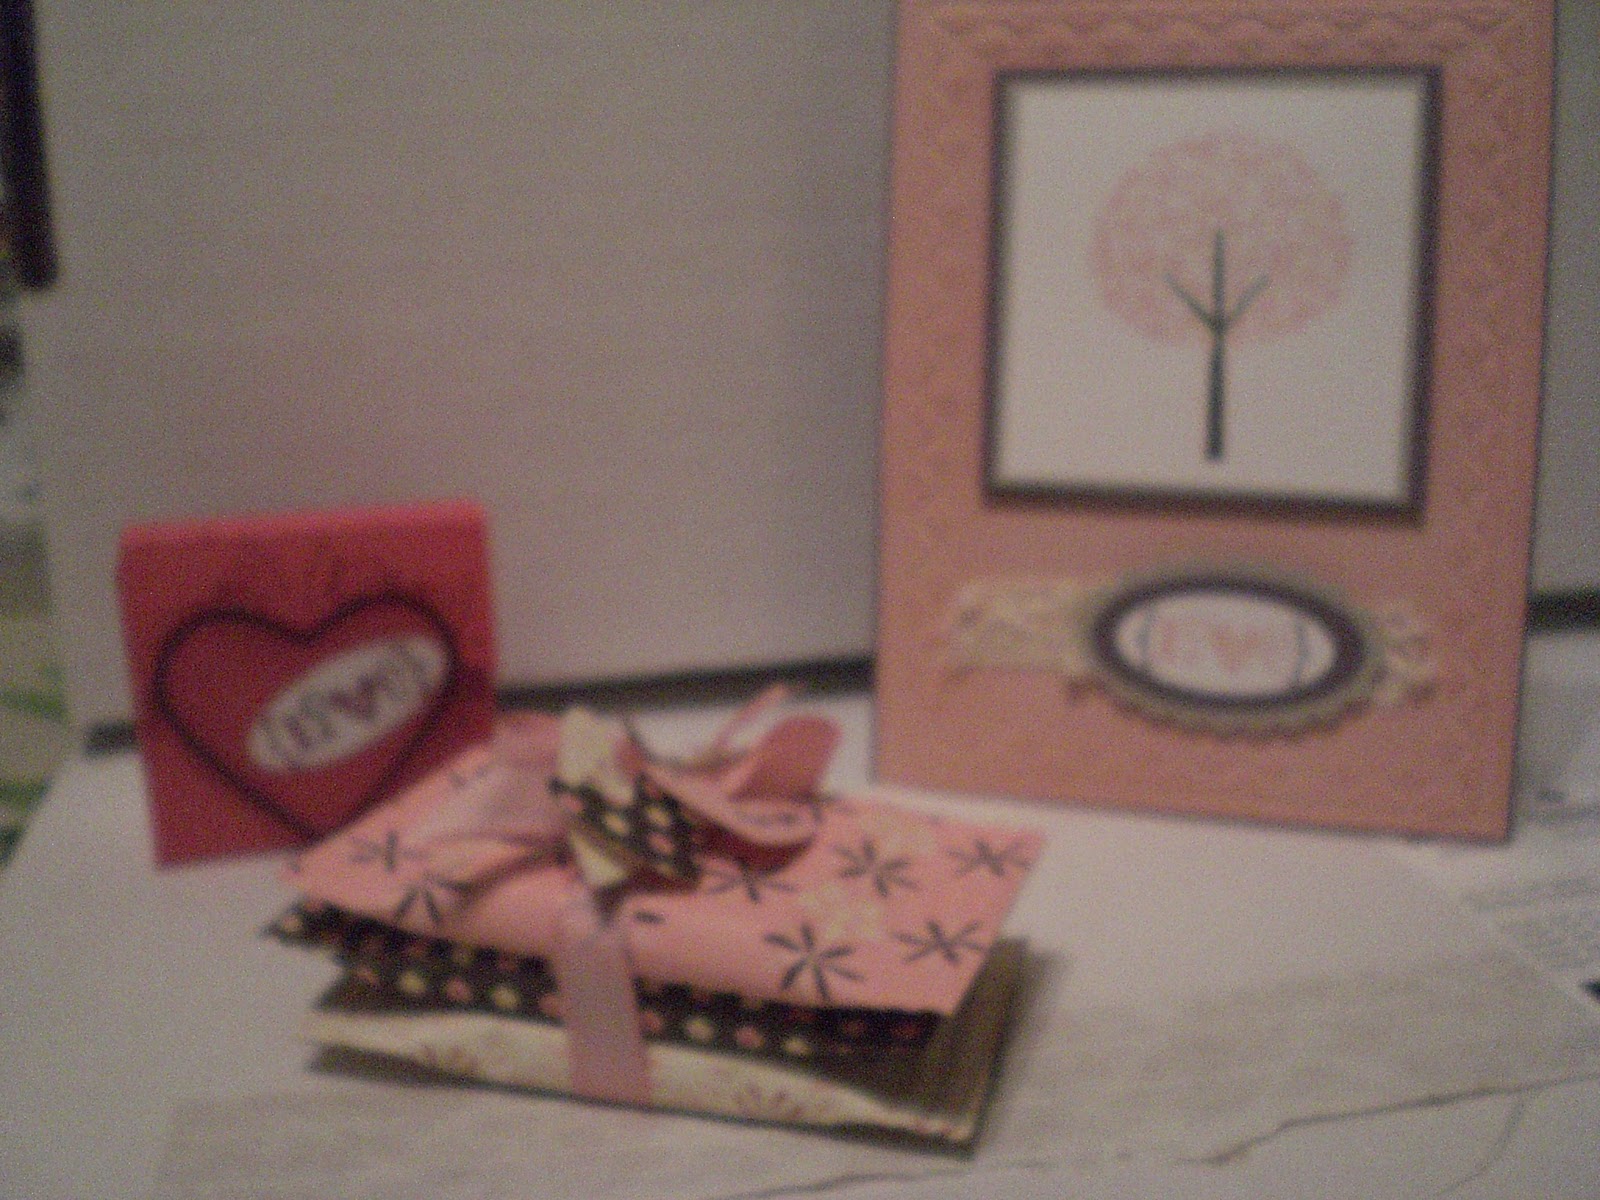
 Here is a close up of the Valentine card.   The card base is Perfect Plum and the front panel is Blushing Bride, which I ran thru the Big Shot using the Framed Tulips embossing folder and sponged some blushing bride ink on the embossed area.  The image of the heart tree is stamped on whisper white using blushing bride ink and early espresso marker for the trunk.  I layered the stamped image onto Saraha Sand and then Perfect Plum cardstocks.   The greeting is stamped in blushing bride ink and perfect plum marker onto whisper white cardstock scrap and punched out using the small oval punch, next I punched perfect plum cardstock using the large oval punch and finally I punched saraha sand cardstock using the scalloped oval punch.  Of course I had to pierce holes in each of the scallops...I just have to....  Under the greet in a scrap piece of victoria crochet trim, and I used just a scrap that was too small to even use for just tying a knot.
 Guess what these are????  Give up?   Individually wrapped Ghiradelli chocolates.   No, I didn't loose my mind and wrap all the chocolates in the package, just 3 of them.   This was so simple and they look so cute.  I wrapped some of last years Valentine DSP and you only need a small piece (5 x 3 1/2) around a wrapped Ghiradelli chocolate, centering the chocolate.   I used snail adhesive to adhere the paper together...it was a little hard with the thicker DSP, but hey, I want the receiver to be able to rip open that candy and if I used sticky strip, that stuff holds forever....Next, get that long lost tool you have in a drawer, somewhere!! I know you have one... and crimp the edges on each side..I used some pretty in pink taffeta ribbon to tie them together and punch some hearts using the Heart to Heart punch and punched a hole in the tops of the hearts, strung them onto some linen thread and tied that onto the bow.
 This is a cute little box and it holds a Valentine treat.   Guess!!!   Times up...It holds chocolate!!  3 Ghiradelli chocolates fit snugly into this cute box.  The heart on the front is made from the scallop heart of hearts embosslet die and the Big Shot....I used perfect plum and the inside heart is punched from the large heart punch using Melon Mambo cardstock, same as the box.  I stamped the Love you greeting in perfect plum and punched it out using the small label punch and put some bling over the "o" with the rhinestone pearls.  I got these two Ghiradelli chocolate projects off of a blog, here  WOO HOO, I finally figured out how to link another blog ....at least I hope it works.
 This last treat was made from some small cello bags filled with treats, chocolate ghiradelli for my Mom and Candy hearts for her husband, Ed.   My downline gave me the idea, she had made sometime very similar using black stazon ink and the Valentine stamp from the occasions mini catalog.   I don't own that stamp *gasp**!! and I didn't bring stazon ink with me to Florida, but had some red stazon and used that.   I stamped some hearts from I heart hearts and the Love image from the valentine defined stamp set from the occasions mini catalog.

Love and Enjoy!

Bible Verse of the Day....Love must be sincere. Hate what is evil; cling to what is good.— Romans 12:9 (NIV)

FREE SHIPPING !!! Plus DSP Sale still going on

 Hey, I know it’s been like a hot minute since last posting on my Blog, but here goes!   I have a few wonderful products in this new catalog...